
Cheers,
DrSmurto
There are four topics covered in this post:
- Starting Wyeast/liquid yeasts.
- Re-culturing yeast from a bottle.
- Yeast farming.
- Top Cropping.
If i have time i build a 2L (or 5L if making a lager) starter prior to brew day. This will take five to seven days. See "Re-culuring yeast from a bottle", below, for instructions on stepping up to larger volumes.
1. Smack pack, let swell. Whilst a swollen pack isn't necessary it wakes up the yeast and gets them going.
2. 2L of cold water with 200g of LDME - boil for 10-15mins and then cool to 25-30C.
3. Pitch yeast, aerate it till your arm is about to drop off and either stir if you have a stir plate or shake the container every time you pass it.
4. Wait till fermentation is complete, or close to.
5. Crash chill overnight in the coldest part of your fridge.
6. Pour off beer and tip ~1/4 into a sanitised container.
7. Pitch the remaining into wort.
Re-culturing yeast from a bottle
1. Chill the bottles of bottle-conditioned beer (such as Coopers Sparkling Ale or Pale Ale) for a few days to make sure the yeast settles to the bottom of the bottles. Check the best after dates; the fresher the better.
2. Gently pour the beer into a glass leaving the yeast behind. Drink the beer
3. Give the bottle a swirl and pour the yeast remaining into a sanitised jar/flask.
4. Make a starter. I would start small and go for a 250mL starter (25g LDME, 250mL boiled, cooled water). Add this to the yeast and either add an airlock or cover with gladwrap/rubber band. Shake the starter until your arm is about to drop off. Every time you walk past the starter give it a good shake.
5. You need to 'step up' this starter and in practice it's best to do this at high krausen (when the foaming of the starter is at its greatest) rather than letting the fermentation finish. It's not really an issue if you let it ferment out as sometimes the first step won't show much of a krausen. Don't be concerned if it takes 24-48 hours to show any signs of fermentation.
6. Make a 2L starter (200g LDME, 2L of boiled, cooled water) and pitch the entire 250mL starter into this.
7. Let this ferment out completely.
8. Crash chill (put it in the coldest part of the fridge overnight).
9. Pour off the beer and pitch only the slurry.
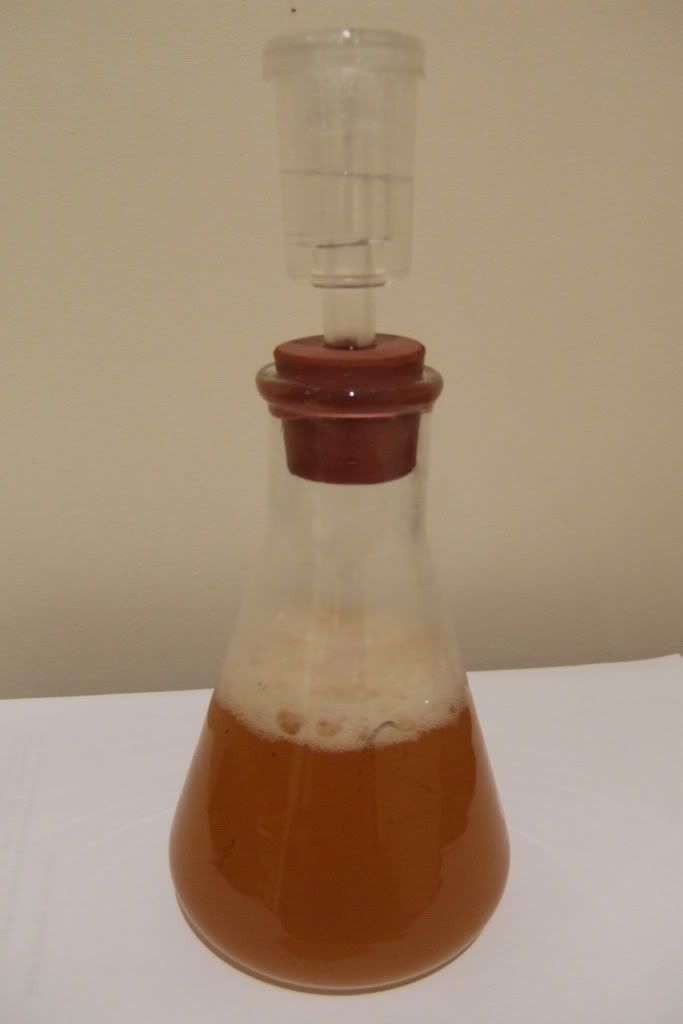
This a a pic of step 4 - the 250mL starter. You can do this in a PET soft drink bottle. Cover in gladwrap and secure with a rubber band.
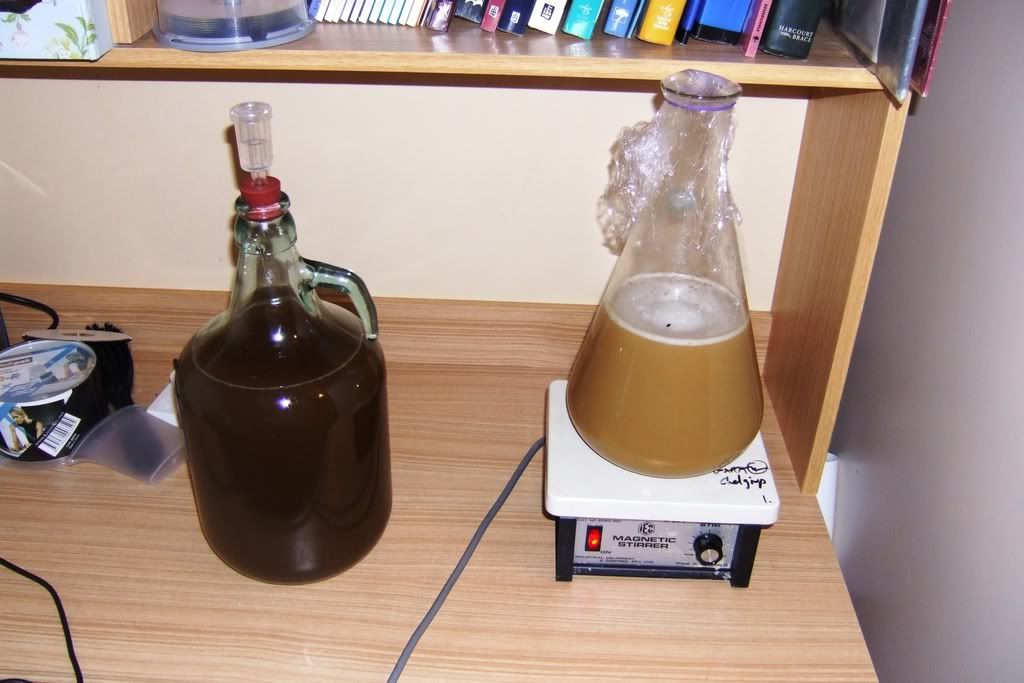
And this is the step up to 2L. Again, you can do this in a plastic container, you will need at least 3L for this step. This was my 3L flask until i broke it.
Yeast farming
1. Rack beer once fermentation is complete, or bottle or keg straight from the fermenter.
2. Add ~1.5L of cooled, boiled water to yeast cake and shake.
3. Pour into sanitised container.
4. Let it sit for 5 mins and then pour off the milky suspension leaving the solid on the bottom of the container behind (the solid left behind is cold break and contains a small amount of yeast but not enough to worry about).
5. Put in the fridge and wait till the yeast flocs out.
6. Pour off the liquid and add more cooled boiled water.
7. Repeat last 2 steps till the water is pretty much colourless.
8. At this point i either split it into several batches to store long term or pitch 1/2 into a fresh wort and split the rest.
*Oliver/Greg - if you could merge this into the yeast starter article it would complete the set. Or given the number of pictures you could sticky it by itself - I'll leave that call up to you*
Top Cropping
I thought I should write up my top cropping method and a few days ago when top cropping some WY1469 (West Yorkshire) I took the time to photograph each step to help people see just how simple it is. WY1469 is as good a top cropper as I have used. As you can see from the pics below, it's trying to climb out of the fermenter at 18C with 20L in a 30L fermenter. I tend to top crop just prior to FG, in this case it's an english IPA and the gravity is 1.020. It finished a few days later at 1.015. The krausen reforms after top cropping so don't worry that you are removing all the yeast before the job is done, it will continue on and can be top cropped again.
1 - Get everything ready and sanitised PRIOR to opening the fermenter lid - that means 1 bottle to store the yeast in (large bottle with a small amount of sanitiser in the pic below), 1 bottle of boiled and cooled water, a ladle and a funnel.
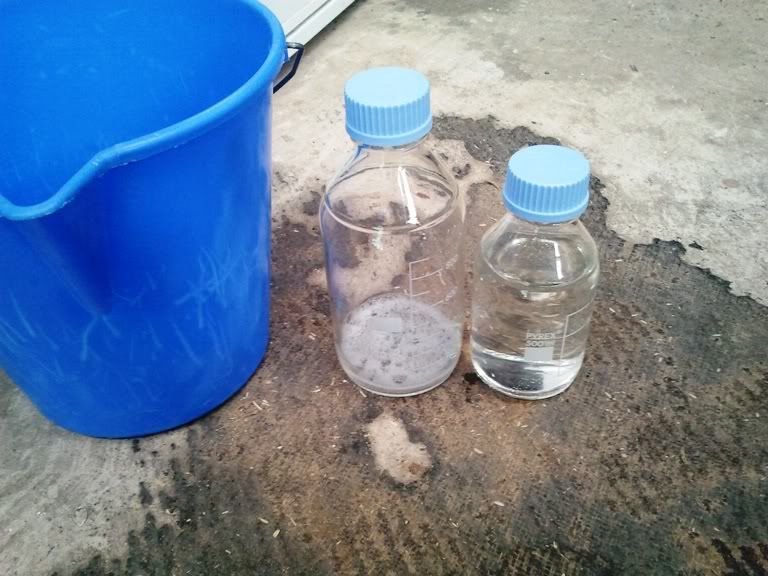
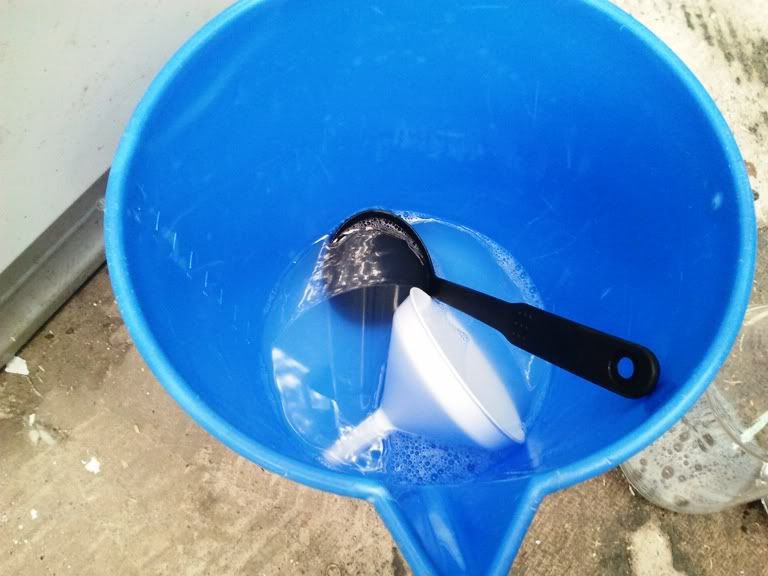
Bucket contains no rinse sanitiser
2 - Open the lid and scoop ladle after ladle of the krausen into the funnel and rinse into the big bottle (after throwing out the sanitiser!) using the boiled/cooled water as required.

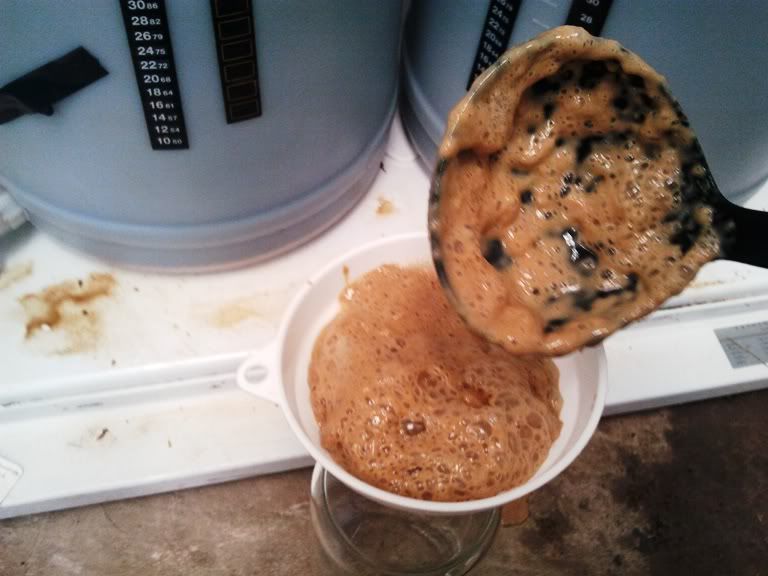
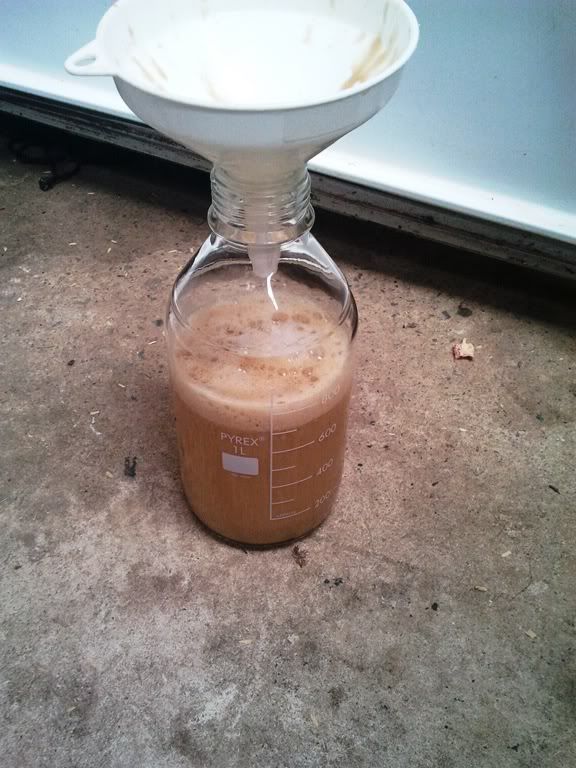
3 - Once done re-seal the fermenter and cover the bottle of yeast with cling film - it will continue to ferment since the ratio of yeast to wort is now huge. If you seal it as this point you may get a bottle bomb.....
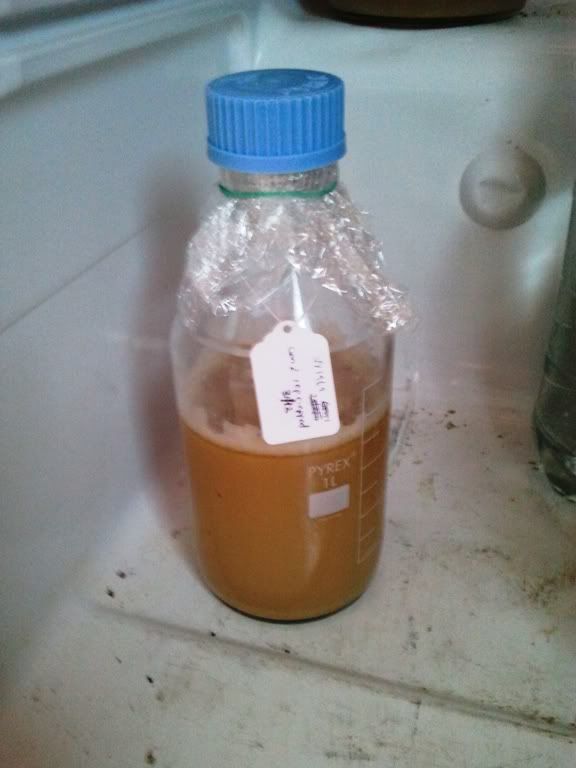
4 - After 24-48 hours replace the cling film with a lid and seal (I label it with the yeast strain, a generation and the date as well as specifying it is top cropped as opposed to yeastcake)
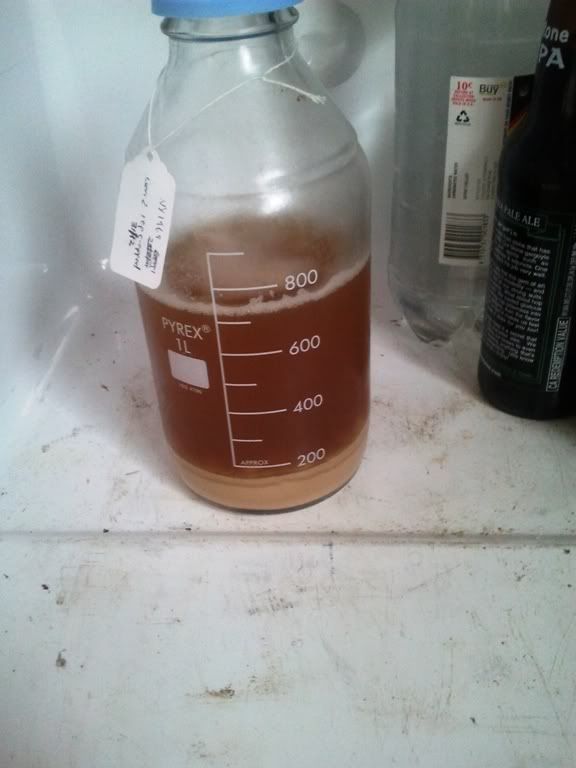
This is easily enough yeast to direct pitch into a 20L batch and if using within 3-4 weeks I will simply pour of most of the water and pitch the yeast. I've had lag times of less than 2 hours when using top cropped yeast). Any longer than 4 weeks and I will make a small (500mL) starter just to ensure the yeast is ready. Just make sure when you do that you do so in a 2L flask or bigger as the yeast will fire up very quickly and krausen rapidly. I made the mistake once of making a 500mL starter in a 1L flask and 30 mins later it was spewing out of the flask.
Top cropping is better than harvesting the yeast cake as it is pure yeast and contains no hops or proteins/break material that you find in the cake at the bottom of the fermenter.
Hope that helps and encourages people to give this is a go. There are other english yeasts that can be top cropped (although there are only a few true top croppers) but this is the one i use the most so have the most experience with.
Note: Some of this information in this post is taken from other posts of mine:
- AHB links - Yeast Farming, Starting Wyeast
- homebrewandbeer.com link
